Paint is the part everybody sees. Prep is the part that decides whether the paint still looks good in five years or starts peeling in eighteen months. Two homes can get the same paint, the same color, and the same number of coats, and one will still look fresh while the other is failing, simply because of what happened (or didn't happen) before the brush ever touched the surface. Here's why prep matters and what we actually do during it.
Paint Bonds to a Surface, Not Through It
Paint sticks to whatever it lands on. If that surface is dust, grease, mildew, chalking from old paint, or a flaking topcoat, the new paint bonds to that layer instead of to the wall or siding underneath. The new film looks fine on day one, but it's only as strong as the loose layer it's stuck to. Wash the wall, sand the failing edges, and prime the bare spots, and the paint bonds directly to a sound surface. That's the difference between a finish that lasts a decade and one that lifts off in a single hot summer.
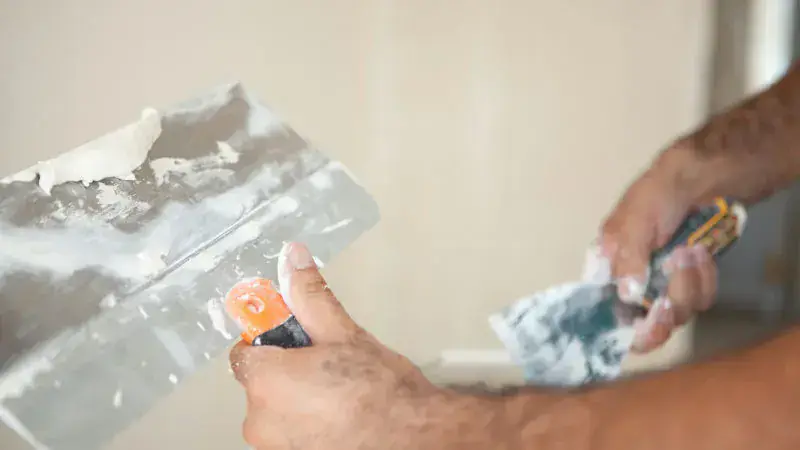
What Interior Prep Actually Looks Like
Walk into a home before we start an interior painting project, and you'll see us doing things that don't feel like painting. Patching nail holes with spackle. Sanding the patches flat. Caulking gaps where trim meets walls. Spot-priming patches and any stained areas so the topcoat absorbs evenly. Wiping down baseboards and trim to clear off the dust. Masking off everything we don't want paint on.
None of that is paint. All of it is what makes the paint look right. Skip any single step and the result shows up at eye level: a visible patch through the topcoat, a streak where caulk wasn't applied, a flash spot where primer was missed.
Why Exterior Prep Is Even More Critical
Northwest Florida is hard on paint. Sun, humidity, salt air, and hurricane-season rain all attack a finish from the moment it dries. The paint itself can only do so much. The prep is what determines how long the bond holds.
Every exterior painting project we take on starts with a full pressure wash. That clears off chalk, mildew, dirt, and any loose paint. From there, we scrape and sand failing edges, repair minor wood rot before it spreads, caulk gaps around windows and doors, and spot-prime bare wood. Only then does the first finish coat go on. Skipping the wash or the scraping doesn't save real time, but it cuts years off the life of the paint.
Drywall Repair Belongs in the Prep Conversation
Holes, hairline cracks, water stains, and popped nails all need to be handled before paint goes on, not after. A patch that's not feathered out properly will read as a bump under the paint forever. A water stain painted over without a stain-blocking primer will bleed back through within a week. We treat drywall repair as part of the prep on most interior projects, because the topcoat can only look as good as the wall behind it.
Why We Don't Cut Corners on Prep
Prep is the part of the job nobody sees once we leave. It's also the part of the job that decides whether we'd be proud to drive past your house in three years. Paint that's failing reflects on whoever put it on, and we don't want our work peeling off a wall in Pensacola or Gulf Breeze a year after we left. So we take the time the prep deserves, every project, every time.
If you've been quoted a paint job that sounded fast and cheap, ask the painter to walk you through their prep. The answer tells you everything. When you're ready for an honest estimate that itemizes prep right alongside the paint, reach out for a free estimate or call (850) 449-1919.