Drywall takes more abuse than most homeowners realize. A doorknob hits a wall. A piece of furniture gets dragged. A roof leak finally gets fixed, but the brown ring on the ceiling stays. A hot Florida summer causes the framing to expand and contract, opening hairline cracks above doorways and windows. None of it is unusual. All of it is fixable. Here's the most common drywall damage we see in Pensacola homes and how we handle each one.
Small Holes From Nails, Anchors, and Doorknobs
Nail holes are the easiest fix on the list. A dab of spackle, a quick sand, and you're done. Anchor holes (the round, slightly torn openings left when wall anchors are pulled out) need a bit more care because the drywall paper is usually damaged around the edge. We trim the loose paper, fill with joint compound, sand flat, and prime.
Doorknob-sized holes (the kind that happen when a door swings open with too much energy) need a mesh patch and two or three coats of compound to fully blend in. Same final steps: sand smooth, prime, paint.
Hairline Cracks Above Doors and Windows
These show up as straight lines extending from the corners of a door or window frame, often a few inches long. They're caused by seasonal expansion and contraction of the framing. The crack itself isn't structural, but it tends to come back if you simply fill it with regular joint compound. We use a flexible patching compound or embed mesh tape into the crack, build the patch up over a couple of coats, and feather it out wide enough that the repair disappears under the paint.
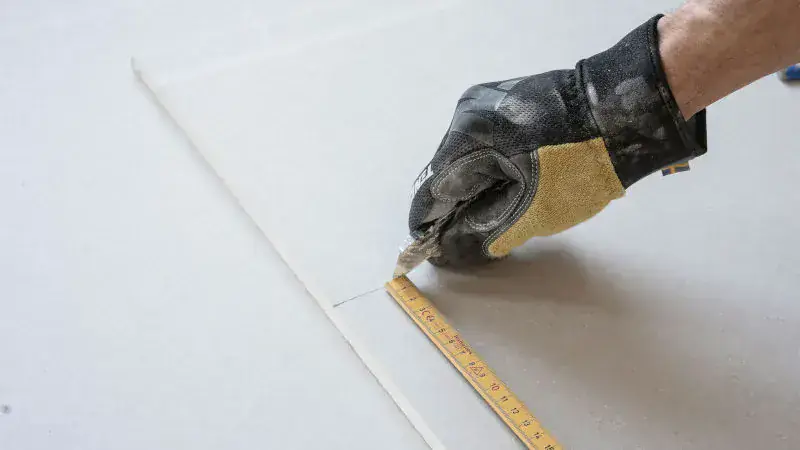
Larger Holes That Need a New Piece of Drywall
Anything bigger than a few inches across needs an actual drywall patch, not a mesh fix. We cut the damaged section out cleanly, fit a new piece of drywall into the opening, tape the seams, and float the joint with compound. Every coat gets sanded between applications, and the final coat gets feathered far enough out that the patch is invisible once primer and paint go on. Most patches like this take two to three days end to end, because each coat of compound needs time to dry properly.
Water Stains and Ceiling Damage
Brown rings on a ceiling are usually a sign of an old roof leak. The first question we ask is whether the leak has been fixed. If it hasn't, the patch is going to fail. Once the source is sealed, we can address the cosmetic damage. If the drywall itself is still firm, we sand the stained area, apply a stain-blocking primer (which is critical, regular primer won't stop water staining from bleeding through), and repaint. If the drywall is soft or sagging, that section gets cut out and replaced.
Texture Matching Is the Hard Part
Patching a hole is straightforward. Making the patch look like it was never there is harder, because it has to match the texture of the surrounding wall. Smooth walls are forgiving. Orange peel, knockdown, hand-troweled, and popcorn textures all need to be feathered carefully and applied with the right tool. We test the texture on a sample piece before putting it on the wall, every time. A great patch with a wrong texture is worse than no patch at all because it's the part you'll keep noticing.
What You Can Do Yourself, and What You Probably Shouldn't
Small nail holes and minor dings are reasonable DIY territory. The risk is low and the consequences of an imperfect patch are minimal. Larger holes, ceiling repairs, water-damaged sections, and any patch that needs texture matching are jobs where the difference between a professional repair and a DIY one is visible from across the room for years.
If you've got a list of drywall damage that's been bugging you, send it our way. We handle drywall repair on its own, and we pair it naturally with interior painting projects when the whole wall is getting refreshed (which is the cleanest way to make a patch fully disappear). Reach out for a free estimate or call (850) 449-1919.